How to tie an Eldredge knot
In this guide
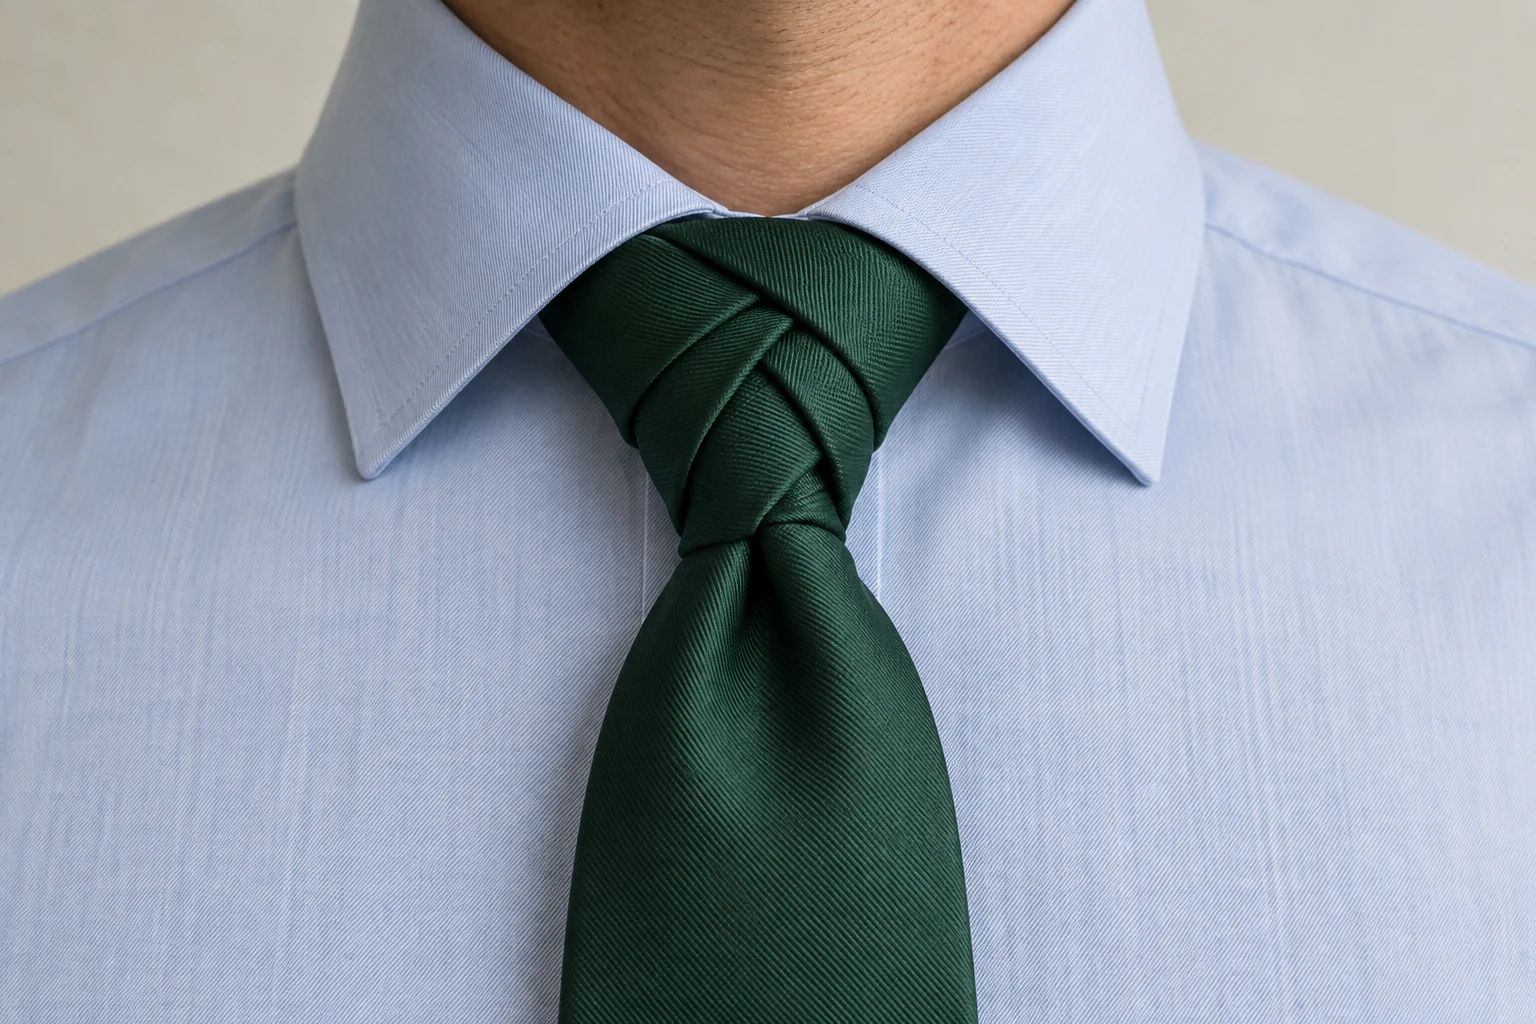
You probably saw it at a wedding or in a photograph: a tie knot that looked braided, with bands crossing like the tail of a fish, and nobody nearby could tell you what it was. It was almost certainly the Eldredge knot. It is not hard because any single move is tricky. It is hard because there are many moves, the order matters, and one pass through the wrong opening quietly ruins the rest. This guide takes it one pass at a time, from your own point of view, with a check after each step.
The knot was devised in 2007 by Jeffrey Eldredge, who wanted something other than the four in hand he wore to work every day, and it spread widely online the following year. Its trick, and the reason it looks unlike the classic tie knots, is that the narrow end does all the work. The wide end is set at its final length before you begin and never moves again.
What makes the Eldredge knot different
In a four in hand, a half Windsor or a full Windsor knot, the wide end wraps around and finishes by covering everything with one smooth face. The Eldredge reverses that. The narrow end wraps around the wide blade and the neck loop several times, and instead of being hidden, those wraps are the decoration: diagonal bands on each side of the knot that lock into one another. The leftover narrow end is tucked away behind the collar at the end, so from the front you see only the braid and the wide blade hanging below it.
Because the narrow end makes so many passes, the finished knot is larger than a four in hand and has a raised, sculpted texture. Ties.com rates it five out of five for difficulty, the top of its scale. Either way, it helps to be comfortable with an ordinary knot first, and our guide on how to tie a tie is the place to start if you are not.
Choose a tie that will cooperate
The braid is the pattern, so the tie should not compete with it. Solid colors, fine textures and small, quiet patterns show the structure best. Bold stripes are the usual trouble: every band of the knot cuts the stripes at a different angle, and the result looks busy and off balance. A light to medium silk wraps neatly; a thick wool or knit tie makes each band fat, and the knot can end up the size of a fist.
Length matters more than with most knots. The wide end stays where it starts, so every wrap is paid for by the narrow end, which has to be long enough to make all its passes and still leave a tail to tuck away. A standard tie of about 57 inches (145 cm) is usually workable for a man of average height and neck size, but if you are tall, have a larger neck, or find yourself out of fabric before the last tuck, an extra long tie solves it. Our guide to tie length explains the sizes. A spread collar gives the wide knot room, while a narrow point or button down collar can look crowded; our guide to types of shirt collars explains the differences.
Set up with the wide end still and the narrow end long
Fasten the top button and turn the collar up. Drape the tie with the seam side against your shirt, the wide end hanging on your left and the narrow end on your right. This is the reverse of the usual start, because here the narrow end is the one that moves. Set the wide end first, with its tip at your belt buckle, because that is where it will finish: the wide end never moves again. Almost all the remaining length will now be on the narrow side, hanging far below the wide tip.
Left and right mean your own hands throughout. Some guides start with the wide end on the right and mirror every move; that works too, as long as you do not switch systems partway. The neck loop is the circle of tie around your collar. Two steps below ask you to keep a wrap loose, because the narrow end has to pass through that loop on the following step.
How to tie the Eldredge knot step by step
Hold the wide end still with your left hand at the crossing whenever you can, and work the narrow end with your right. Go slowly the first few times and stop at each checkpoint. If the checkpoint does not match what you see, undo back to the last step that did.
Cross over the wide end
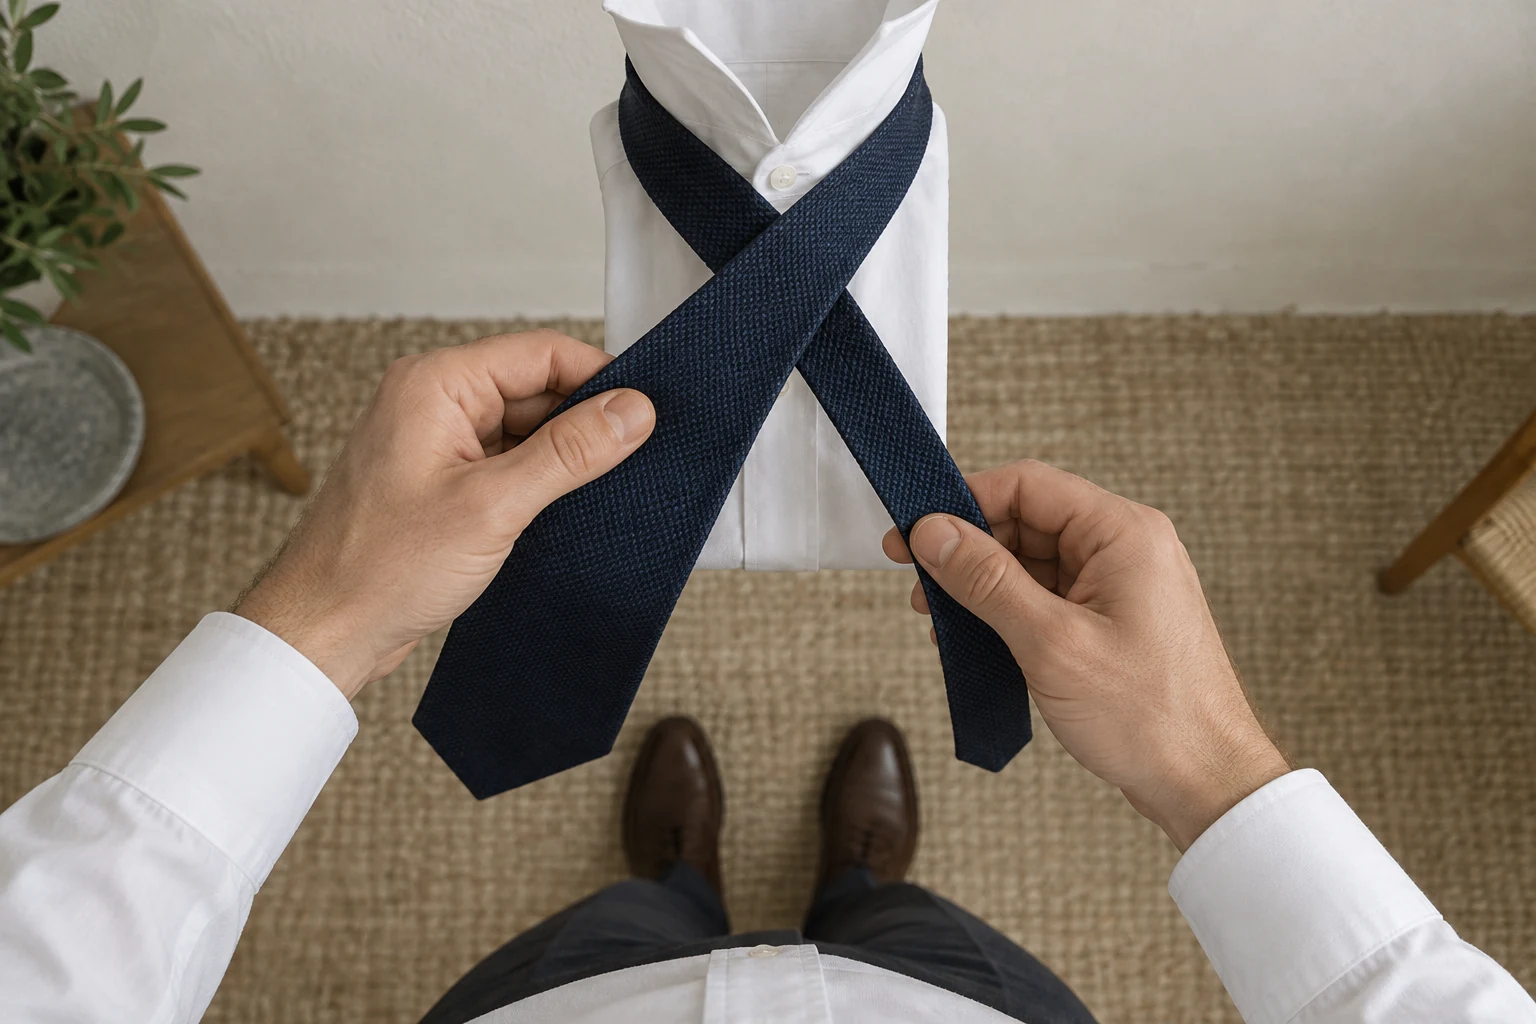
Bring the narrow end from your right across the front of the wide end to your left, just below the collar.
CheckThe narrow end is on your left, lying across the front of the wide blade.
Wrap behind
Pass the narrow end behind the wide end and bring it out on your right.
CheckThe narrow end is on your right, and it has made one full wrap around the wide blade.
Over the neck loop, down to the left
Bring the narrow end up in front of the crossing toward the center of your collar, pass it over the neck loop and down through it toward your chest, then draw it out on your left and pull it snug.
CheckThe narrow end hangs on your left, and the first diagonal band now lies over the knot.
Across the front and up again
Carry the narrow end across the front of the knot to your right, then bring it up into the neck loop from underneath once more.
CheckThe tip of the narrow end appears above the knot at your collar, and a horizontal band crosses the front.
Down to the left and around the back, loosely
Bring the narrow end down to your left, then around behind the wide end to your right. Leave this wrap loose, because the next step passes through it.
CheckThe narrow end is on your right, and a loose loop sits around the wide blade.
Thread the loop and tighten
Carry the narrow end across the front toward your left and pass it through the loose loop from the previous step. Pull it toward your left to snug it.
CheckDiagonal bands now show on both sides of the knot, and the structure holds without your hands.
Wrap the left side of the neck loop
Bring the narrow end up in front to the center of your collar, feed it down through the neck loop and bring it out on your left.
CheckThe narrow end is on your left, wrapped once over the left side of the neck loop.
Wrap the right side, loosely
Bring it up in front to the center again, down through the neck loop and out on your right, leaving this wrap loose.
CheckThe narrow end is on your right, with a loose loop around the right side of the neck loop.
Thread the last loop and tighten
Carry the narrow end across the front toward your left, through the loose loop you just made, and pull it toward your left to tighten.
CheckThe braid is complete, and only a tail of the narrow end is left over.
Tuck the tail and settle the knot
Tuck what remains of the narrow end behind the neck loop on your left so it disappears under the collar. Fold the collar down, then nudge the bands with your fingertips until they look even.
CheckThe wide tip is still at your belt buckle, and no narrow end shows.
Fix the common problems
If you run out of narrow end before the last tuck, the wide end probably started too low, or the tie is simply too short for this knot. You cannot borrow length from the wide end without changing where it finishes, so either raise the wide tip slightly and accept a shorter tie, or use a longer one. If the wide tip has crept up during tying, it was pulled along by the wraps; keep a hand on it at the crossing and restart.
Uneven bands are normal on the first attempts. Loosen the knot a little, slide each band with a fingertip until the two sides match, then tighten gradually by drawing the tail and the wide end in turn. If a loop was pulled too tight to pass through, do not force the narrow end, which scuffs the silk. Undo back to that loop, loosen it, and continue. Expect several full attempts before it looks right, and make them at home rather than ten minutes before you leave.
When the Eldredge looks right, and when it looks fussy
This is a knot that wants to be noticed, and that decides where it belongs. It works at weddings where you are a guest, especially under a casual wedding dress code, at parties, evenings out and creative workplaces where a bit of personality is welcome. It looks out of place at a job interview, a funeral, a conservative office or a formal business meeting, where a knot that draws the eye can read as trying too hard. For those, a half Windsor or a clean four in hand is the better choice. Black tie calls for a bow tie, not a decorative long tie.
Keep the rest of the outfit calm when you wear it. A plain shirt, a solid or subtly patterned tie and a suit without loud checks let the braid stand out on its own. If you are dressing for a celebration, our guide on what to wear to a wedding can help you judge whether the dress code leaves room for it. A tie clip is fine below the knot, at the usual height, since it has nothing to do with the knot itself.
| Occasion | Eldredge? | Note |
|---|---|---|
| Wedding as a guest, casual dress code | Yes | Personality is welcome; keep shirt and suit calm |
| Parties, evenings out, creative workplaces | Yes | Let the braid be the one detail |
| Job interview or formal business meeting | No | Wear a half Windsor or clean four in hand |
| Conservative office or funeral | No | A knot that draws the eye reads as trying too hard |
| Black tie | No | Wear a bow tie |
Common mistakes
Moving the wide end
Everything in this knot depends on the wide end staying where you set it. If you let it slide while wrapping, the finished length comes out wrong and the braid sits off center. Hold it at the crossing and set its tip at the belt buckle before the first move.
Pulling every wrap tight
Tightening as you go feels secure, but two of the wraps must stay loose so the narrow end can pass through them. Tighten only where the steps say to, and shape the whole knot at the end.
Choosing a bold striped or very thick tie
Stripes cut across the bands at clashing angles and hide the braid, and a heavy wool tie turns each band into a thick roll. Save both for simpler knots and use a solid or softly textured silk here.
Yanking the tail to undo it
Pulling the narrow end back through the braid in one go strains the tie's stitching and can crease the silk. Loosen the knot and unwind it in reverse order, then hang the tie so it relaxes.
Questions people ask
Is the Eldredge knot hard to tie?
It is one of the more difficult tie knots, mainly because it has many steps and two wraps must stay loose. None of the individual moves is complicated. Most people need several practice runs before it looks even, so learn it on a quiet evening rather than the morning of an event.
What is the hardest tie knot?
Among knots people actually wear, the Eldredge and the Trinity are the usual answers. Ties.com gives both its top difficulty rating of five out of five, and breaks the Eldredge into 15 steps against 13 for the Trinity. No single move is hard on its own; the difficulty is keeping the order straight and the loose wraps open.
What is the difference between the Eldredge knot and the Trinity knot?
Both are tied with the narrow end while the wide end stays still. The Trinity has fewer wraps and a face divided into three curved sections, while the Eldredge adds more passes to make a longer, braided pattern of diagonal bands. The Trinity has fewer moves, which makes it a sensible first step.
Is the Eldredge knot professional?
In a creative or relaxed office it can be, especially with a quiet tie. In a conservative workplace, at interviews or at client meetings it tends to draw more attention than you want. A half Windsor or four in hand is the safer daily choice.
Do I need a long tie for an Eldredge knot?
You need plenty of narrow end, because it makes every wrap. A standard 57 to 58 inch tie is usually enough for average height and neck size. If you are tall or run out of tail before the final tuck, an extra long tie of around 61 to 63 inches makes the knot far easier.
Sources and further reading
References used for this guide. Each opens the original page in a new tab.
- Ties.com Eldredge knot instructions Opens in a new tab
- OTAA Eldredge knot tutorial Opens in a new tab
- Real Men Real Style Eldredge knot guide, including tie choice and occasions Opens in a new tab
- 101knots history and steps of the Eldredge knot Opens in a new tab
- Tie-a-Tie.net Eldredge knot instructions Opens in a new tab
- Tie Doctor step by step Eldredge guide Opens in a new tab
- Ties.com Trinity knot instructions and ratings Opens in a new tab
Keep reading
Ties and knots
How to tie a tie: the easiest knot for beginners
Learn how to tie a tie with the four in hand, the easiest dependable knot: six steps from your own point of view, then length, dimple and which knot to try next.

Ties and knots
Half Windsor knot: how to tie it step by step
Tie a half Windsor knot step by step, with checkpoints after each move, the collars and tie fabrics it suits, and fixes for a knot that looks lopsided or bulky.

Ties and knots
Windsor knot: how to tie a full Windsor, step by step
Tie a full Windsor knot step by step, with a checkpoint after every move, the collars and ties it needs, and fixes for a knot that is lopsided, bulky or too short.

Ties and knots
How long should a tie be, and where should the tip land
How long should a tie be? Where the tip should land, standard and extra long tie lengths, how your knot changes the result, and matching tie width to lapels.
Dress codes
Wedding guest attire: every dress code decoded
Wedding guest attire explained from black tie to casual, with what men and women can wear for each dress code, plus color, venue and religious considerations.